How we make our Hand Stitched Woodland Pouches
Posted on
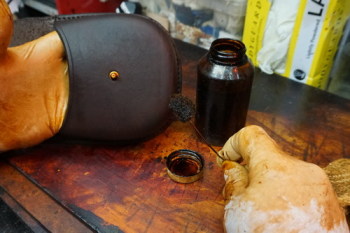 This is a look at behind the scenes at Beaver Bushcraft and how we make hand make our Leaher Woodland Pouches and the process it goes through from start to finish. We hope you enjoy the Blog and hope its gives you an idea on what goes into making one of our hand stitched pouches. We like to use traditional methods where we can when it comes to our hand stitched leather items. We also use our own mixes of dyes and leather finishing Balms and whether or not an item has been hand stitched or by machine, we will still lovingly finish any detail off by hand. We can categorically say that each item has personally been touched and finished by our own hands.
The following pictures will take you through the journey that each pouch goes though. It may also expalin why we have a waiting list for some of our hand stitched leather goods. Happy reading......
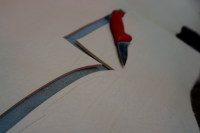
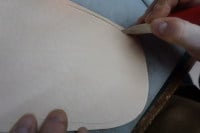
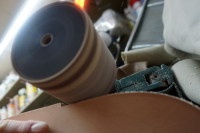
We start by 'blocking' the back of the Pouch out on leather, then very carefully cutting the actual pattern. It is inperative that our knives are kept very sharp for this process. Any rough edges are then sanded down.
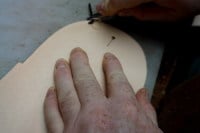
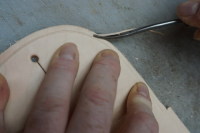
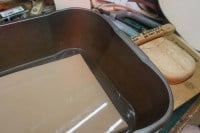
A decorative edge is then carefully done then followed by trimming the edges off to create a smooth finish meanwhile the back of the pouch is saturated in warm water ready for moulding.
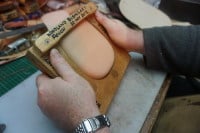
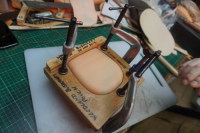
We carefully place the saturated leather front piece onto the wooden mould and then clamp firmly and securely into place. This is left in a warm, dry environment to set for at least 24 hours.
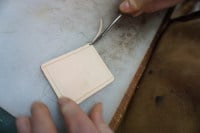
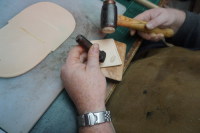
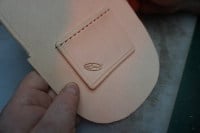
We give our belt loops the same decorative edge as the front of the pouch. The logo is then applied, some customers ask for the logo on the back, some want it on the front some even want to have their own intials stamped on to make it more personal. We then aline the belt loop up on the back of the pouch and then prick the stitching holes in readiness for the next part which is hand stitching the belt loop onto the back of the pouch. We do not use rivets to secure our Belt loops as we feel this spoils the overall effect.
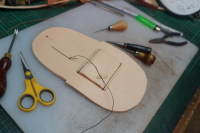
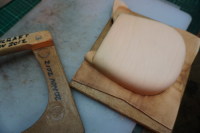
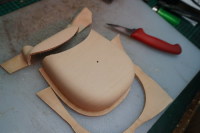
Once the back of the pouch has been finished, we then move onto the front of the pouch. Checking that is is bone dry, we remove the wooden molud and carefully cut away the excess leather.
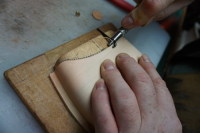
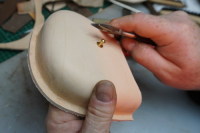
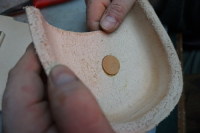
Whilst the front part is still on the wooden mould, the same decorative edge is done. We then take the front part off the mould and fit the Sam Browne stud. We like using Sam Brown studs as they are more traditional then a press stud and is so simple in design. We pad the back of the stud with a soft piece of leather, this not only acts as a protective layer but looks more ethectically pleasing on the eye.
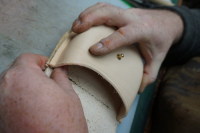
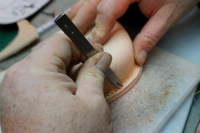
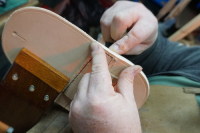
We aline the two parts together, once alined we then use a pricking iron to mark out the stitching holes.This is the best bit, handstitching. We use a traditional saddle stitch to sew the two parts together. The pouch is placed into wooden clamps sometimes known as a stitching pony. Traditional saddle stitch not only looks good but is also a very secure way of stitching and gives the seam incredable strength. A good 'hand stitcher' will ensure that the back of the pouch looks as equally good as the front and that the length of each stitch is consistant.
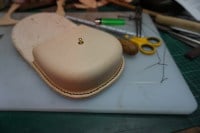
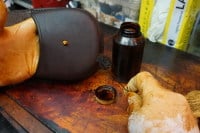
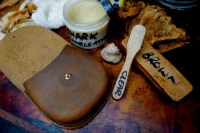
Once all the stitching has been completed its time for the hand dying. We like to hand dye our leather items as this gives them more of a richness and depth of colour that you can not achieve with commercially pre dyed leather. It also gives our items a liitle bit of an individual apperaance rather then a flat mass produced look. Once the dye has complely settled, this takes another 24 hours, we can then finally finish the pouch off with some of our own finishing balm. We actaully mix our own nourishing balm. This balm is non waxy, non sticky and not only protects the leather, but nourishes the leather too. It is made from loads of natural yummy incrediants and smells wonderful too.
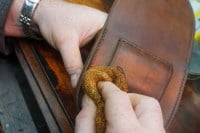
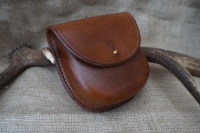
A little bit of buffing with a soft cloth after the balm has completely dried then we are good to go.....

Add a comment: